DIY Vertical Hydroponic Garden Ideas. Plans, Pros and Cons
Have you ever wished you could grow more fresh fruits, veggies, and herbs at home, but struggled with limited yard or balcony space? Vertical hydroponic gardening offers a smart solution for maximizing your growing capacity, even in small indoor areas.
In this beginner’s guide, you’ll discover five unique ways to build your own customized DIY vertical hydroponic system. Get ready to create beautiful, productive gardens that thrive compactly upwards rather than sprawling out!
Key Takeaways
- Vertical hydroponic gardening leverages vertical space to increase yields in small areas.
- Popular DIY designs include PVC towers, stacked buckets, wall planters, hanging gardens and upcycled furniture.
- Key components needed are structures, containers, irrigation, reservoirs and lighting.
- Great for leafy greens, herbs and berries. Avoid large, heavy fruits and vines.
- With proper setup and maintenance, reap the rewards of homegrown produce from your custom vertical garden!
Why Go Vertical with Hydroponics?
Vertical hydroponic gardening provides many benefits:
- Saves space – Grow more plants in less floor area by leveraging vertical lifting. Lower footprint than conventional horizontal gardening.
- Increased yields – Optimize lighting exposure over multiple stacked layers for higher productivity.
- Faster growth – Hydroponics circulates nutrients directly to roots, accelerating growth speeds.
- Reduced pests/diseases – Less pest pressure and improved disease resistance with enclosed, controlled systems.
- No weeding/digging – Eliminate back-breaking soil work since plants grow in nutrient solutions.
- Convenience – Tend your garden comfortably standing upright versus crouching down.
With some DIY skills and creativity, you can build a custom vertical hydroponic system at home tailored exactly to your space and plant preferences!
Key Components of Vertical Hydroponic Systems
While designs vary widely, all vertical hydroponic gardens need these core components:
- A vertical structure to support and elevate containers. This serves as the backbone.
- Growing containers like net pots to hold plants individually.
- A reservoir to hold the hydroponic nutrient solution.
- Irrigation system to deliver nutrients to plants, such as tubing/piping with pumps.
- Nutrient-rich solution with a proper balance of minerals for plant health and growth.
- Lighting optimized for the vertical space since natural sunlight is limited indoors.
Now let’s explore some specific vertical hydroponic design ideas you can build yourself at home!
1. PVC Pipe Towers

PVC towers are a popular introductory system for novice hydroponic gardeners. Here’s how to make your own:
Gather Supplies
You’ll need:
- 3/4” or 1” PVC pipes – 10-20 feet worth
- PVC end caps
- PVC cement
- Net pots – 2-4” diameter
- Hydroponic nutrient solution
- Water pump
- Reservoirs – 25-55 gallon plastic drums or buckets
- Timer for pump cycling
- Tubing for irrigation lines
- Grow lights (LED recommended)
Assemble the Tower Frame
Cut the PVC pipes into sections. Arrange into a tower shape and cement the joints together using PVC cement.
Add a center support pipe if building a wide tower for stability. Cement end caps onto the top and bottom.
Add Plants
Drill 2-4” diameter holes at desired plant spacing intervals along the pipes. Insert net pots filled with clay pellets or grow media like perlite or rockwool.
Take seedlings or hydroponic plant starts and place into net pots. Make sure stem and roots fit snugly.
Set Up Irrigation
Place the central reservoir at the tower base. Install tubing along the back of the tower with irrigation lines connecting into each net pot.
Use a submersible pump in the reservoir on a timer to flood irrigation lines periodically. Program cycles to maintain nutrient solution flow and oxygenation.
Position Lights
Install grow lights above the tower and timer them to provide 16-18 hours of daily light exposure. LED grow lights work well for the tight spaces in vertical gardens.
Choose Plants
Great options for PVC towers include lettuces, basil, tomatoes, strawberries, green onions, herbs, and more! Avoid large fruiting plants that require heavy support.
Monitor pH and EC levels in the reservoir to maintain optimal nutrient conditions. Your vertical PVC hydroponic garden is complete!
2. Stacked Bucket System
Reusing old buckets is a frugal way to build a gravity-fed vertical garden. Follow these steps:
Get 5-Gallon Buckets
Source clean, food-grade buckets – avoid chemical containers. You’ll need 4-6 buckets stacked vertically. Purchase new for uniformity if possible.
Cut Holes in Bucket Bottoms
Use a hole saw bit on a drill to cut evenly spaced 2-4” diameter holes in the bottom of each bucket. Arrange hole patterns to offset each row.
Stack Buckets and Add Plants
Stack buckets atop each other with holes aligned. Place net pots with plants into each hole. Stagger bigger plants towards the middle and lighter plants on top and bottom.
Irrigate from Top Bucket
Fill the top bucket with nutrient solution. Run a small submersible pump with overflow tubing leading back to the reservoir to recirculate excess fluid.
The solution will drip down through each bucket’s holes to nourish plants in the rows below. Periodically add more nutrient solution to the top bucket as needed.
Troubleshoot Issues
If pooling or dripping occurs out of alignment, seal small gaps between buckets with tape or caulk. Monitor for algae growth and regularly change nutrient solution.
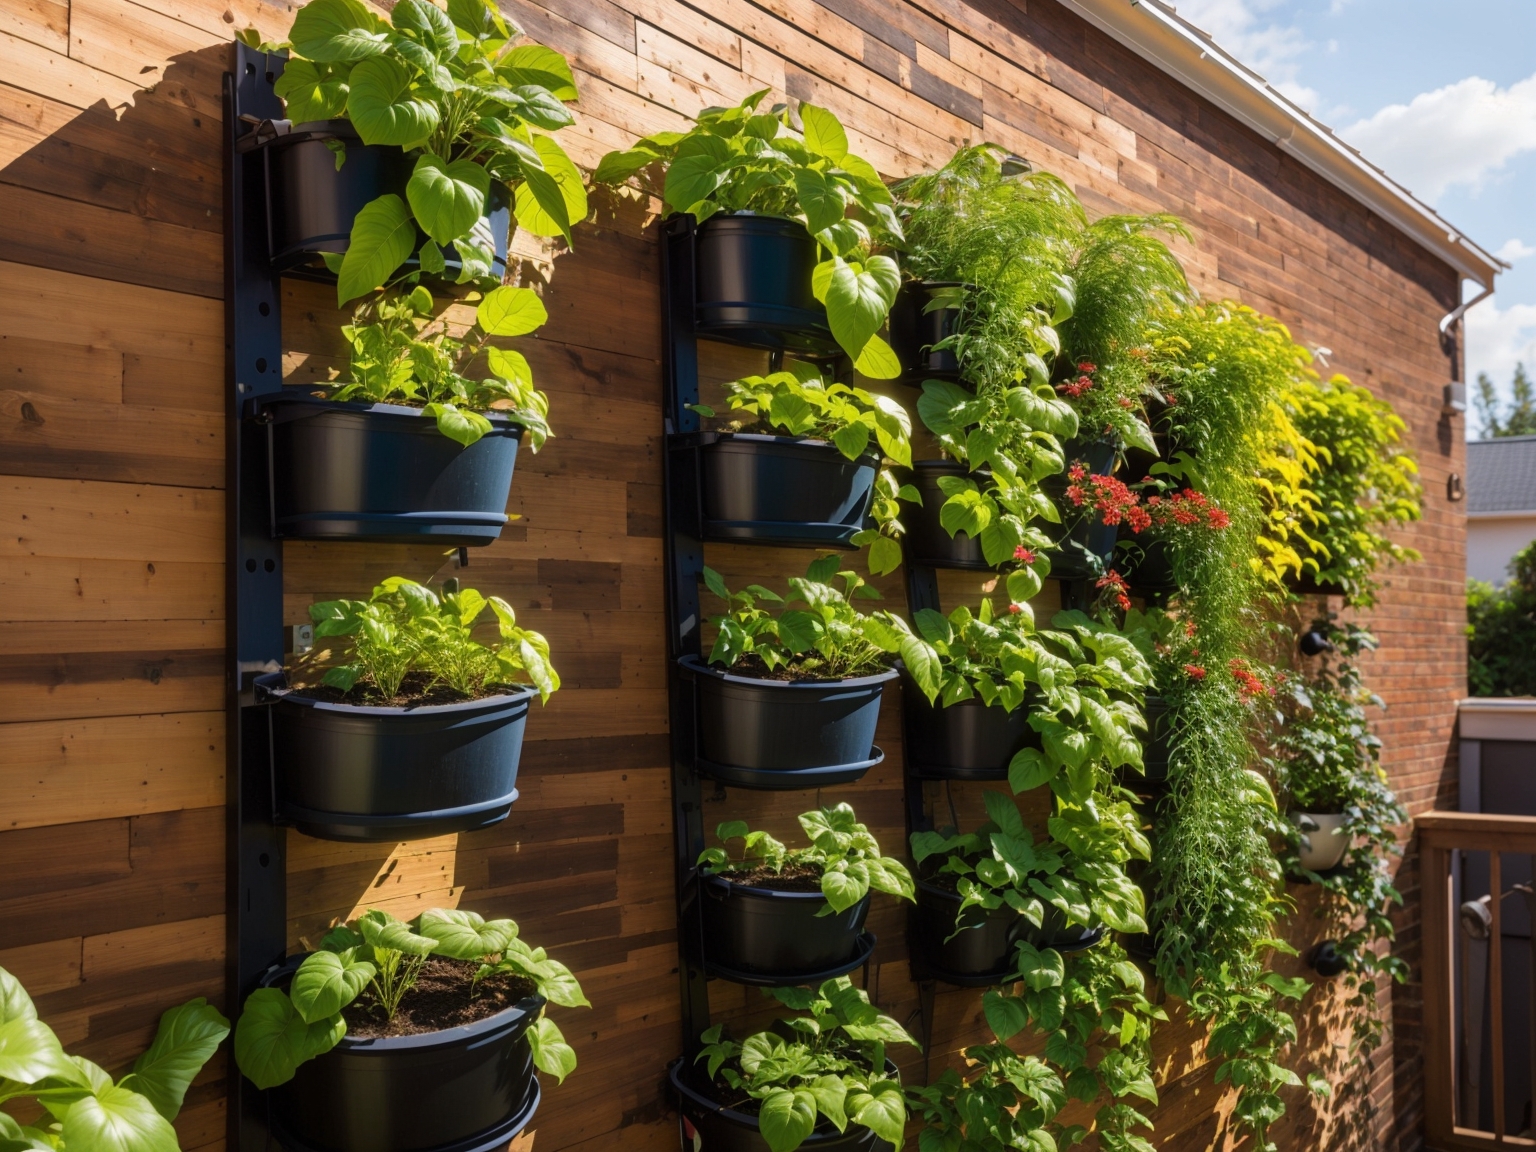
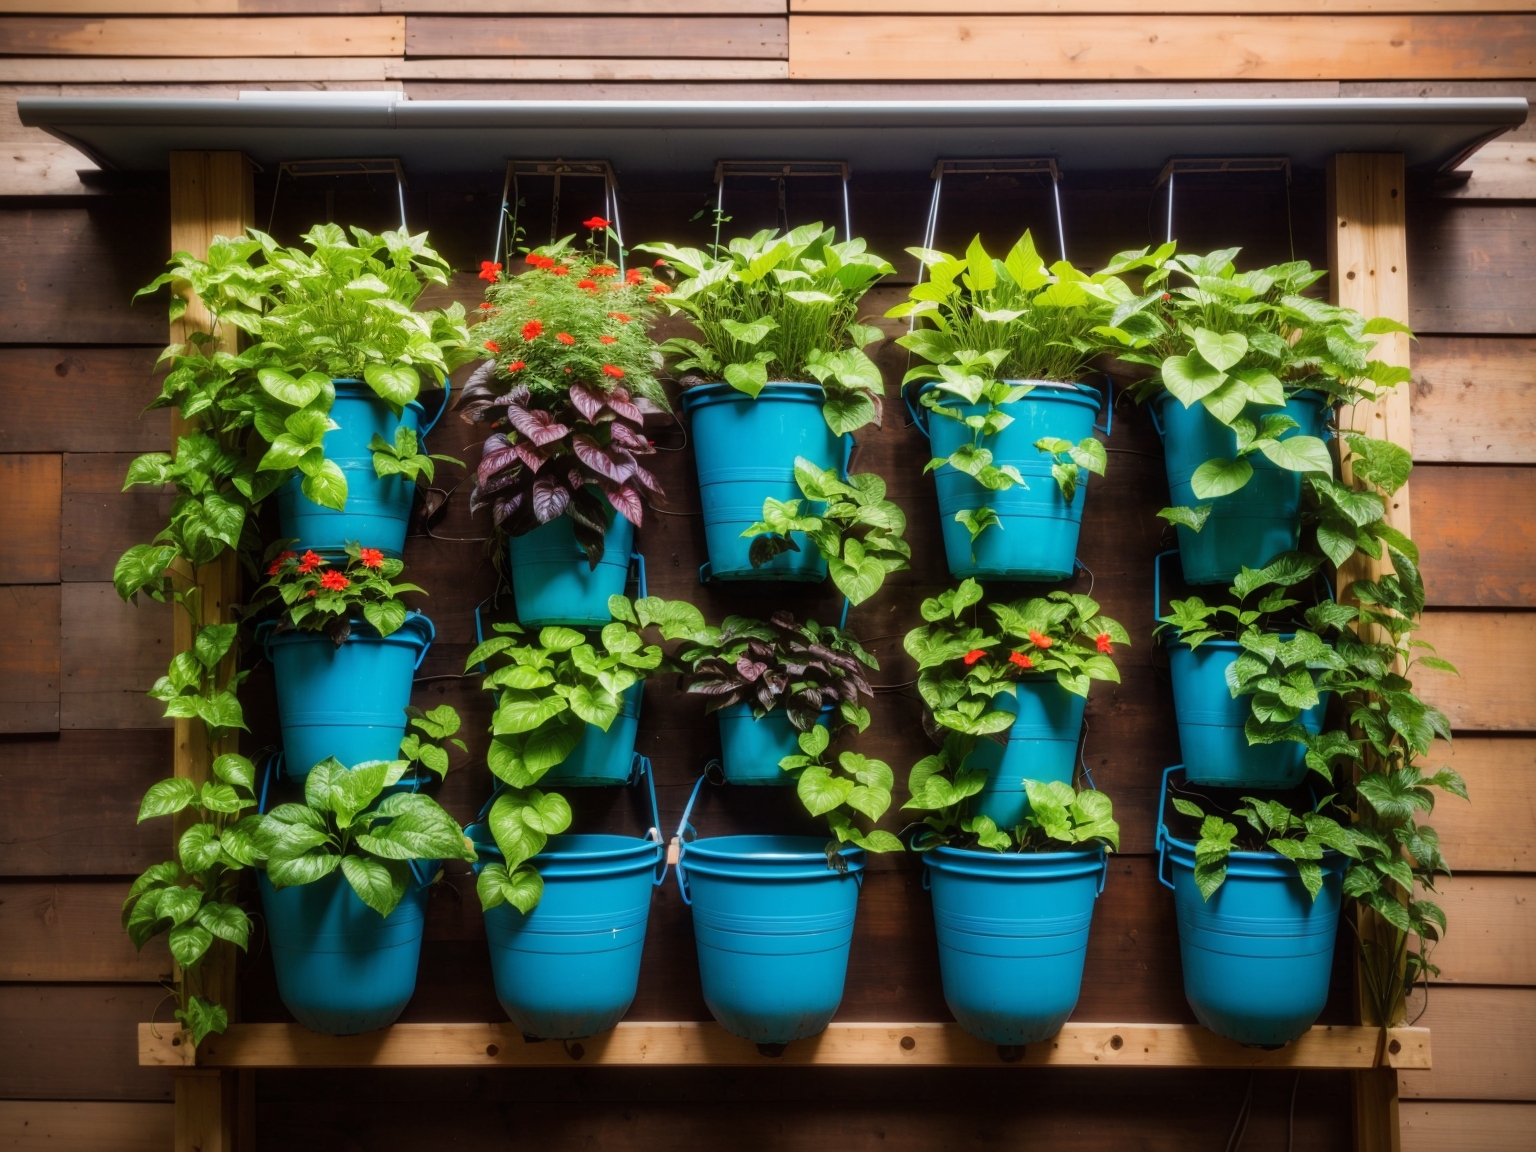
3. Wall-Mounted Planters

If yard space is extremely limited, utilize vertical wall space for hydroponic planting. Build a wall-mounted planter using one of these approaches:
Installing Rails
Take two 8-10’ long 2”x6” boards and mount horizontally on the wall as plant supports. Affix with sturdy brackets into studs or concrete anchors.
Hang 5-gallon buckets with drainage holes from the rails using hooks or adjustable hangers. Or affix commercial felt planter pockets.
Building Custom Wood Frames
Construct a 4’x8’ rectangular wooden frame out of 2”x6” boards. Affix securely to wall and seal any openings.
Add rectangular planter boxes made of wood, plastic or metal to fit into the frame openings. Drill drainage holes.
Insert net pots with plants directly into the planter boxes. Run irrigation tubing along the top rear with drippers into each planter unit.
Optimizing for Light
Situate wall planters to receive maximum sunlight on sunny walls. Supplement with LED grow lights as needed.
Focus on greens, herbs, strawberries and trailing vines. Avoid larger fruiting plants. Maintain nutrient solution levels in each planter box reservoir.
4. Hanging Gardens with Racks
Another vertical gardening option is to hang hydroponic pots suspended from ceilings or rafters. Here’s how:
Install Hanging Racks
Affix sturdy metal utility racks or wire shelving units securely to ceilings or exposed rafters. Ensure they can support the weight of multiple pots when full of nutrient solution and mature plants.
Hang Baskets from Racks
Attach 5-10 gallon grow buckets or baskets with drainage holes to hang from the racks above using hooks, chains or nylon rope. Space 1-2 feet apart horizontally.
Connect Irrigation System
Join all hanging containers together with a main feeder tube running along the racks. Use a submersible pump on a timer to recirculate nutrient solution from the central reservoir up to the feeder line.
Select Plants for Hanging
Leafy greens, dwarf tomatoes, peppers, cucumbers, herbs, and strawberries all grow well suspended. Avoid large, heavy fruits.
Prune and train vining plants for containment versus sprawling. Maintain consistent nutrient reserves and lighting exposure for optimal growth.
5. Upcycling Furniture

Repurposing old furniture into vertical hydroponic gardens prevents useful items from ending up in landfills. Get creative with:
Bookshelves
Lay any style bookshelf on its back to create tiers. Remove shelves if needed for taller plants like tomatoes.
Drill drainage holes into each shelf. Run irrigation tubing down along the back with drippers into each shelf planter bed.
Ladders
Hang wooden ladders horizontally on racks or walls. Plant into plastic mesh cups wired onto each rung. Connect cups into irrigation lines.
Dresser Drawers
Remove drawers from an old dresser and cut drainage holes into the bottom of each drawer. Stack drawers vertically with plants inside, irrigating from the top drawer.
Design and Decor
Paint fun colors to liven things up. Accent with LED grow lights. Add casters for mobility so you can wheel it outdoors when the weather is nice. Get creative and make it beautiful!
Upcycling saves money while letting you customize dimensions and layouts to your space. Revive old furniture into functional vertical plant walls and let your garden grow!
Key Tips for Success
Follow this additional vertical hydroponic advice and your DIY system will thrive:
Grow Lights
Hang LED full spectrum grow lights overhead on chains for adjusting height as plants mature. Provide 16-18 hours of daily light.
Nutrient Solutions
Research and mix hydroponic formulations optimized for the fruits, flowers, greens you want to cultivate. Maintain ideal pH and EC levels.
Aeration
Install air stones connected to pumps in your reservoir and irrigation lines to maintain dissolved oxygen levels and prevent root rot.
Starting Plants
Begin seedlings in net pots filled with clay pellets or rockwool. Transplant into vertical system once established.
Summing It Up
With a bit of planning and elbow grease, you can create vertical hydroponic gardens even in the smallest apartment that will astound your friends and delight your palate with homegrown goodness.
The possibilities are endless when you build upwards. Try out a new vertical hydroponic project this season and take your gardening skills to new heights!
Pros and Cons: DIY Vertical Hydroponic Garden Solutions
PROS
- Increased yields – Grow more food in less space by stacking plants vertically. Optimize lighting over multiple layers.
- Space efficiency – Perfect for small spaces like apartments or balconies. Lower footprint than traditional gardens.
- Faster growth – Constant nutrient and water feeding through hydroponics promotes rapid growth.
- Reduced pests/diseases – Closed and containerized systems help control pests and prevent soil-borne diseases.
- No weeding/digging – Eliminate back-breaking soil work! Just mix nutrient solutions.
- Customization – Design unique systems to match your space and plant preferences. Get creative!
- Convenience – Tend your garden comfortably standing upright rather than crouching down.
- Sustainability – Repurpose used materials. Grow food organically without chemicals.
CONS
- Higher startup costs – Hydroponic systems require supplies like reservoirs, lighting and tubing. Can get expensive initially.
- Maintenance – Must actively maintain pH/EC levels, nutrient reserves, cleanliness to keep system in balance.
- Lighting requirements – Plants need daily light from grow lights since natural light is limited indoors. Consumes electricity.
- Unsuitable for large plants – Best for smaller greens, herbs, strawberries. Not ideal for big flowering/fruiting varieties.
- Limited plant size – Constrained root space from containers limits full growth potential of some plants.
- Risk of equipment failure – Pump or tube failures can disrupt irrigation and damage plants.
- Difficult accessing plants – Not as easy to tend and harvest plants versus open gardens.
Further Reading
- 16 DIY Hydroponic Vertical Garden Ideas To Grow Food
- 28 Unique DIY Vertical Garden Ideas to Try – The Spruce
- 50 DIY Vertical Gardening Ideas | How to Make a Vertical Garden

- How Much Does a Riding Lawn Mower Weigh? - January 9, 2026
- Can You Park Cars in Your Backyard? - January 3, 2026
- Understanding Drone Overflights and Privacy Concerns - January 3, 2026